Hi, welcome to another DYI of reusing old laptop parts. This time I will reuse old laptop monitor. Of course, you can sell it, but why, if you can make yourself a working external monitor!This DYI instructions does not require any soldering, just a screwdriver.. and you will just need to order the right board for the monitor and vuola .. external monitor is born!
PARTS:
– Controller Board + Backlight Inverter + 30P Lvds Cable + Remote – [€35,21] – buy
BE AWARE: You need to order exact controller for your LCD!
Total prize: €35,21
Note: Price may differ, above showing the price in the time of my order.
HOW TO
STEP 1 : ORDER THE CORRECT LCD Controller Board
Mine was LTN154X3-L01 display, so asked a seller, which told me it will work.. but need to order it with exact display number.. so…Bought the above board and working really nice.
STEP 2: disassemble the monitor from laptop
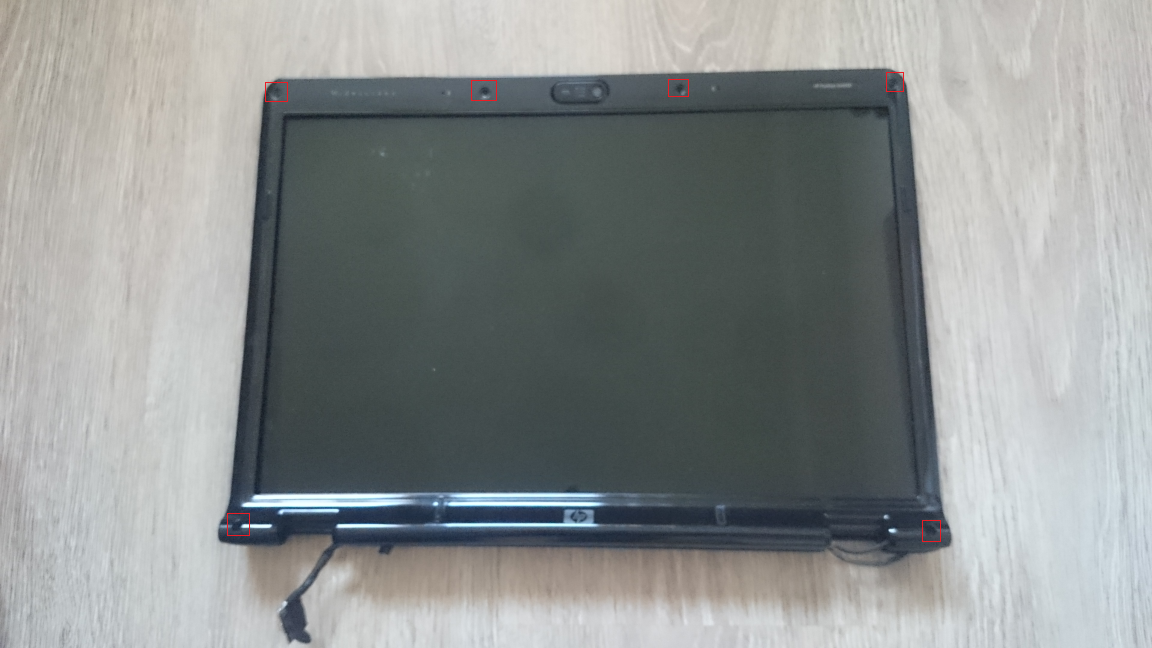 So I just took the old monitor and disassemble it from laptop.
STEP 3: Remove the Screws, Brackets, HINGES
 Carefully open the monitor. Be sure that you are not “electric charged” – statics can damage your LCD.
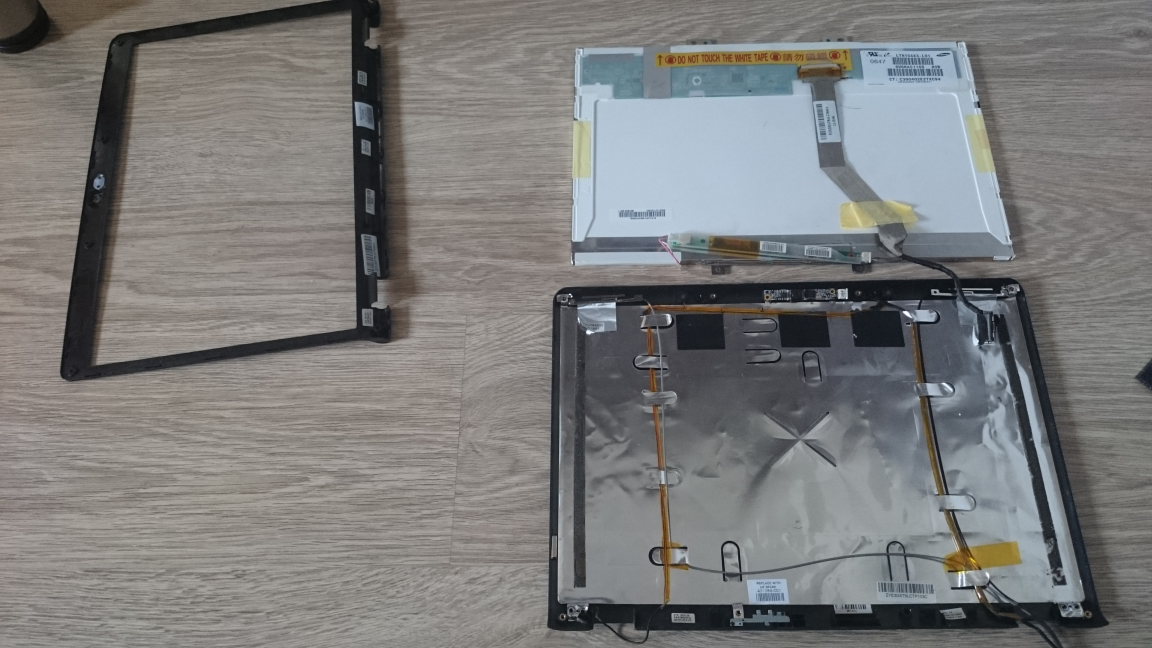 Few more screws to be taken off for LCD & hinges….
STEP 4: GET RID of OLD CABLES AND inverter
 Carefully detach LVDS cable and the inverter from the LCD screen.
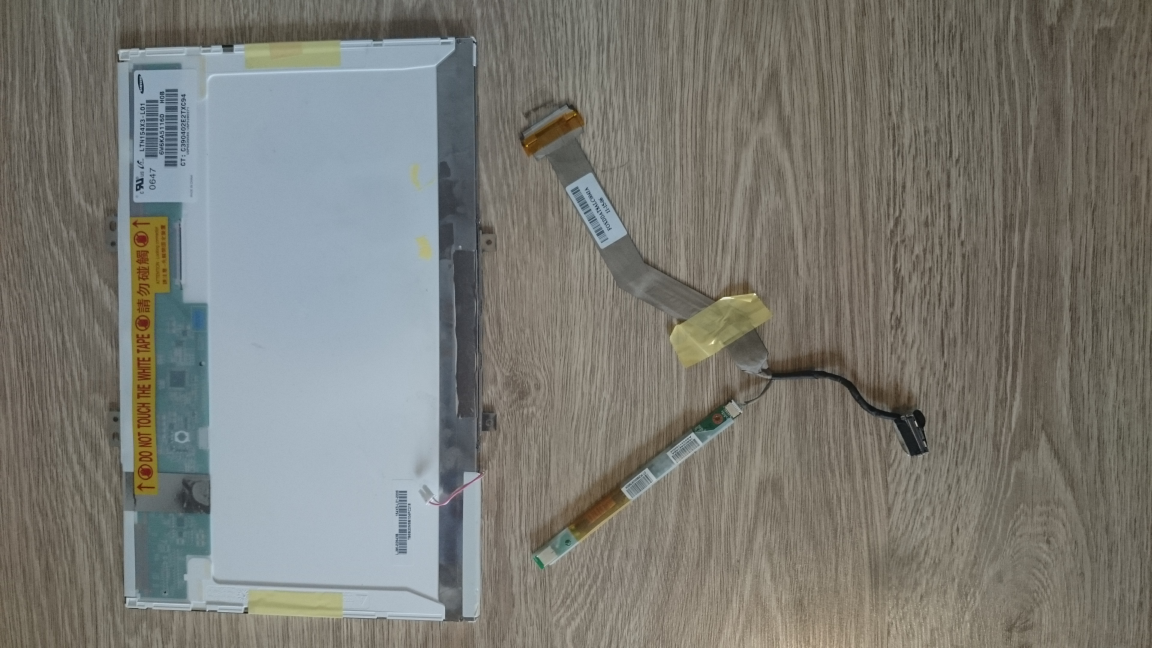 These cables will not be needed again.
STEP 5: INSTALL NEW BOARD
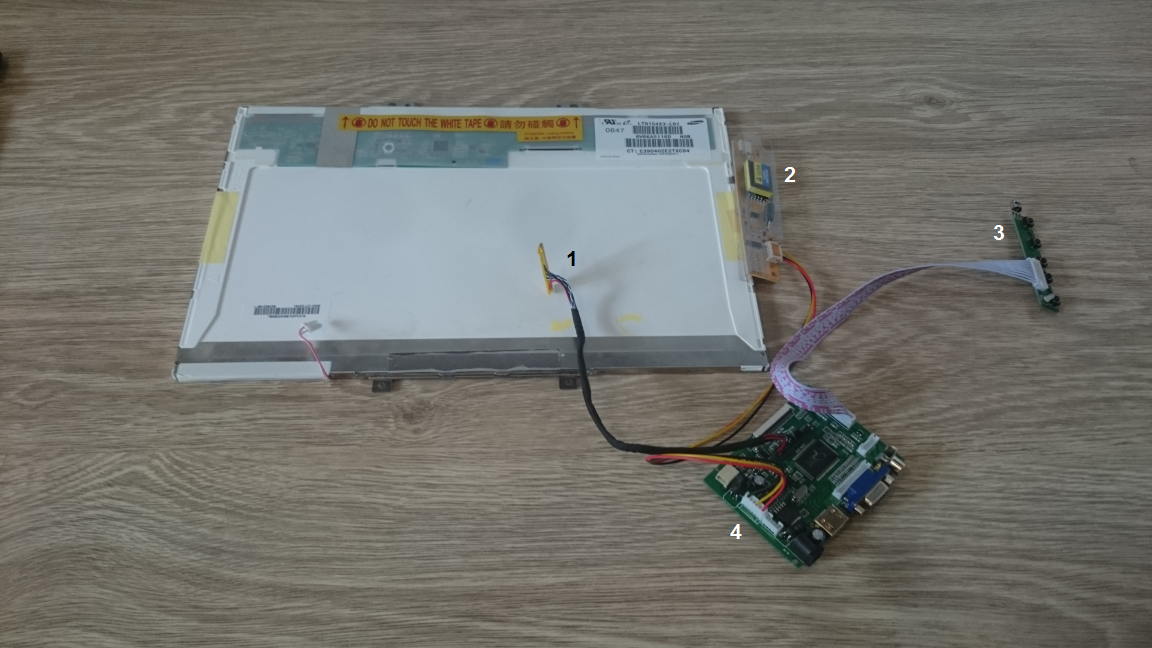 Legend: 1 – LVDS cable; 2- Inverter; 3 – Buttons; 4 – Board with AV, VGA & HDMI outputs
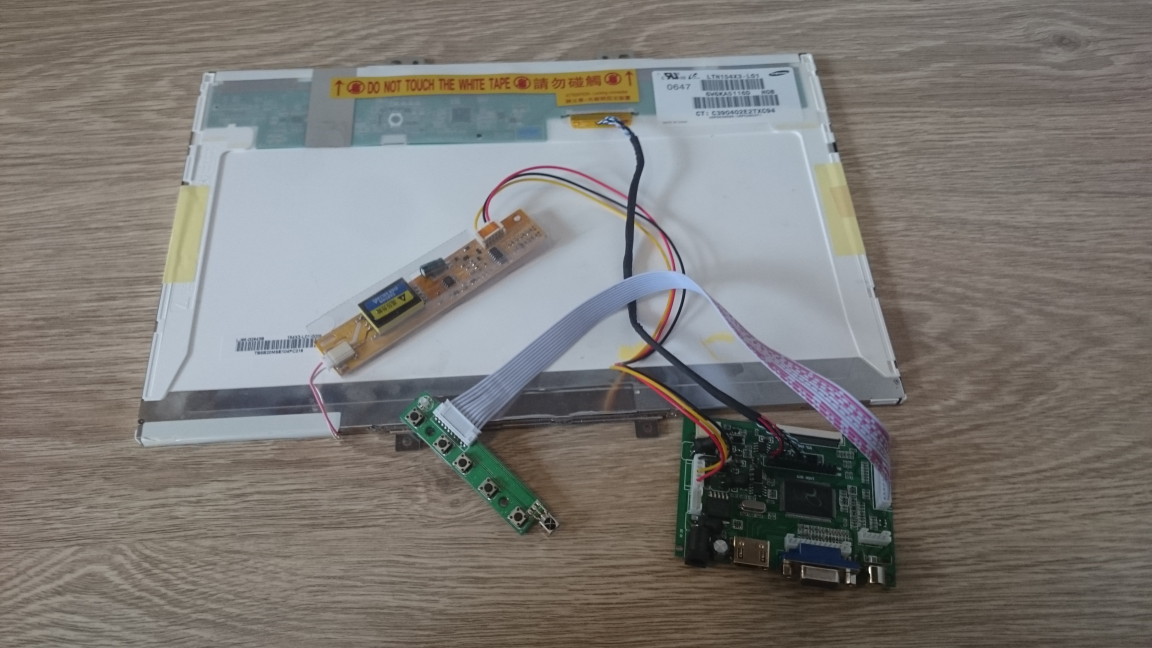 The LCD control Bard comes with all the cables and adapter, except the output cable (AV, VGA or HDMI), which you will have to buy.
STEP 6 : TEST IT!
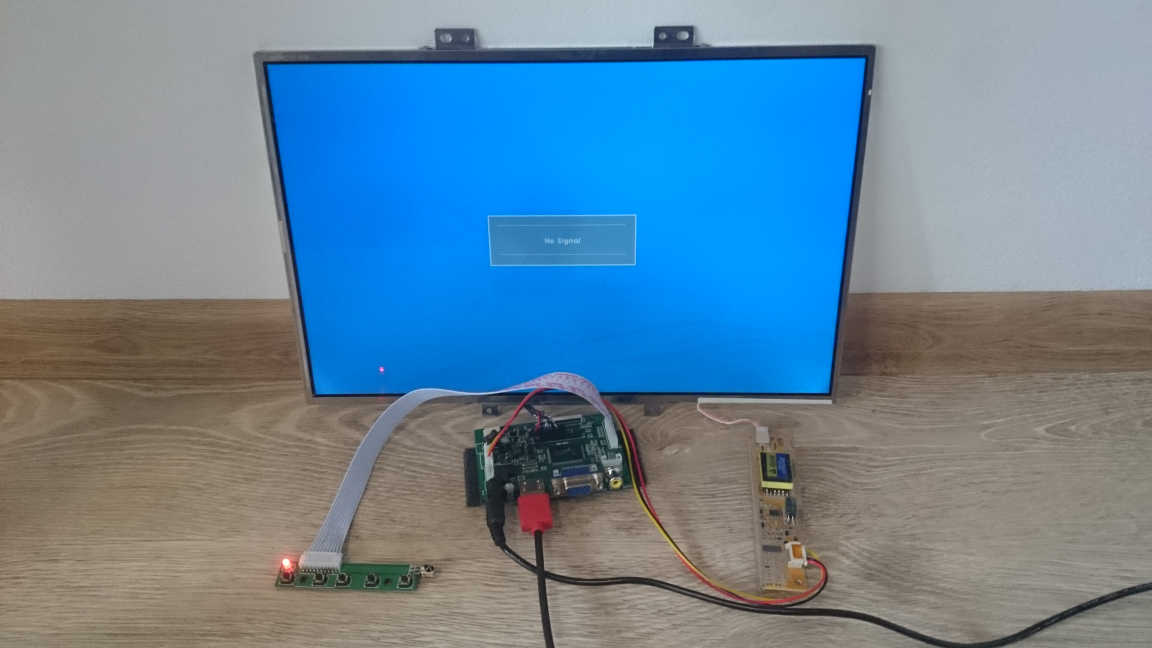
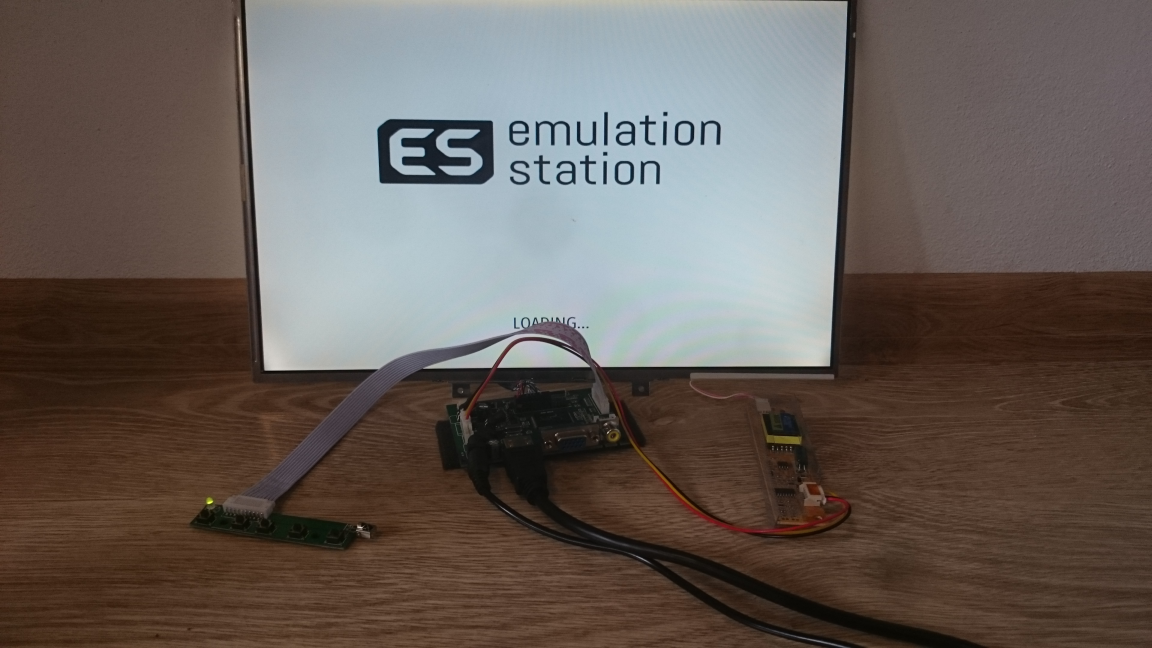
Now you can use this old LCD monitor as your external one! Enjoy.
Resources/other sites
Old Laptop Screen Into Monitor
How to Convert a Laptop LCD Into an External Monitor
How to turn your Old Laptop into an External Monitor for under $25
Making an External Monitor from a Laptop Screen – Mikes Inventions
DIY LCD Display | From Recycled Laptop Screen !!!