Recently I get to a very old laptop Thinkpad T60 (type 1951) released in 2006, which had installed Windows XP in it with 2 GB RAM. I was wondering what I can do to make it somehow “alive” again … (Otherwise it can go to a trash, and that is something what I don’t want to do… )
These days XP is not the best option for a notebook, so what other options do I have? Searching over the internet I found some options how to turn old pc/laptop into a Chromebook.. I’ve found the CloudReady and Chromium OS by ArnoldTheBat as the “most up to date” / “not dead” releases. Both looks very promising for a test.
So let’s try… on this ancient notebook….
The parameters of the laptop:
Processor: Intel Core Solo processor T1300 @ 1.66GHz
RAM: 2x1GB (later I bought 2x2GB for better performance, even the 32bit system can see only 3GB)
HDD: 50GB (approx. 45 GB free after install)
Graphic card: Intel Graphics Media Accelerator 950 (Intel 945GM)
Connectivity – LAN/Wifi
USB BOOT – Yes
“CHROMEOS” running on OLD laptop
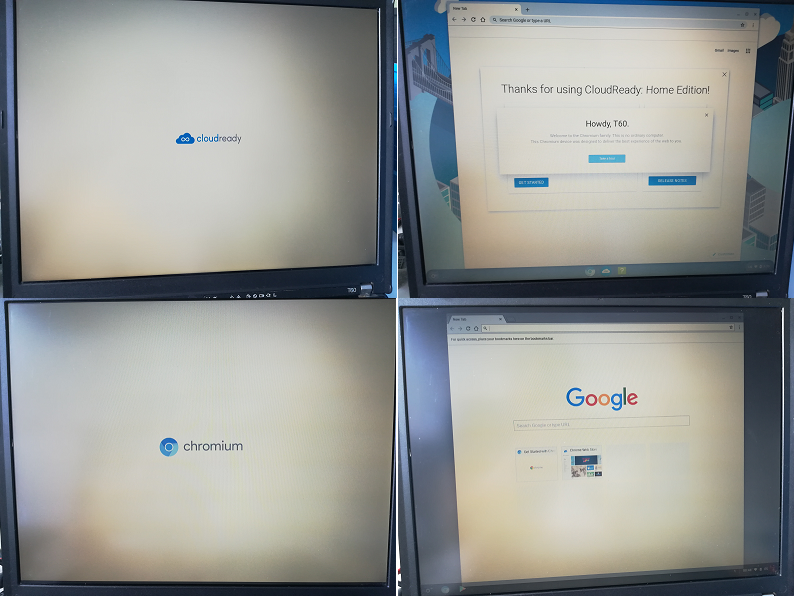
Top pictures showing Cloudready, bottom Chromium OS
HARDWARE
All you will need is a laptop and at least 8GB USB key.
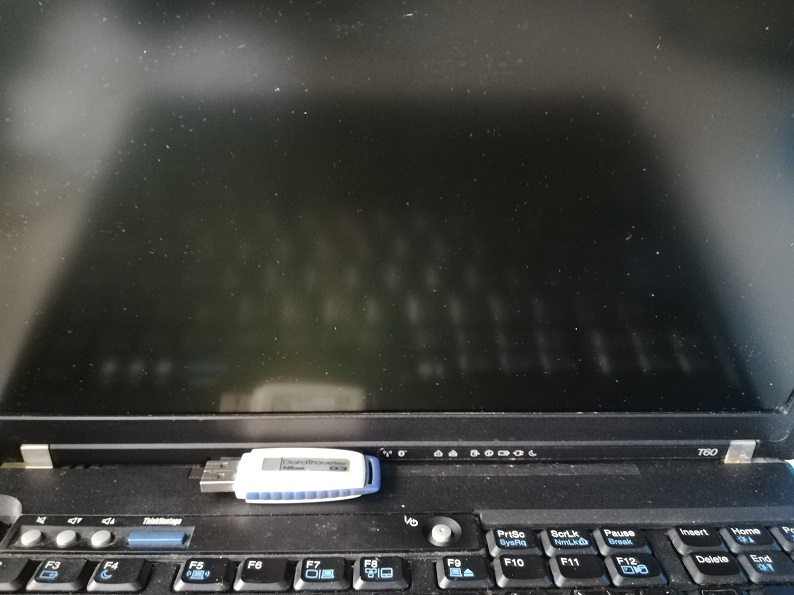
– Old PC/Laptop
– empty 8GB (or greater) USB key
SOFTWARE
– option 1: Neverware – CloudReady: Home Edition USB Maker
or:
– option 2: ArnoldTheBat – Chromium OS
For option 2 you will need also a software to load the image to USB:
balenaEtcher — or — Rufus
HOW TO
STEP 1: Prepare BOOTING USB
CloudReady (option 1)
Run the installer and follow on screen instructions. For this laptop I’ve chosen (logically) the 32-bit system.
Note: You can use any computer, preferably with Windows to create CloudReady USB – see Neverware web page for how to.
From the page: “The CloudReady USB Maker is a Windows application (.exe) that you can download directly from Neverware to guide you through the process of creating a CloudReady USB installer.”

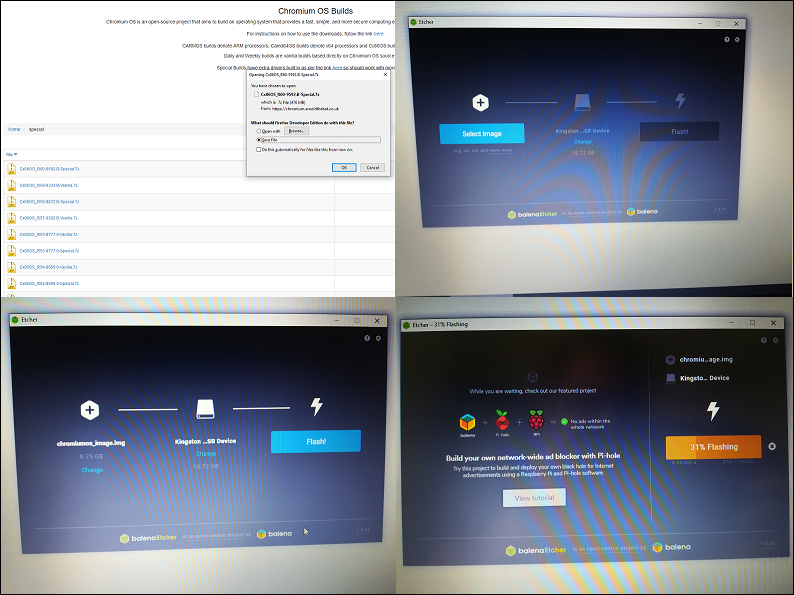
CHROMIUM OS (option 2)
Download the image from the link provided above and use Balena Etcher or Rufus to create bootable USB.
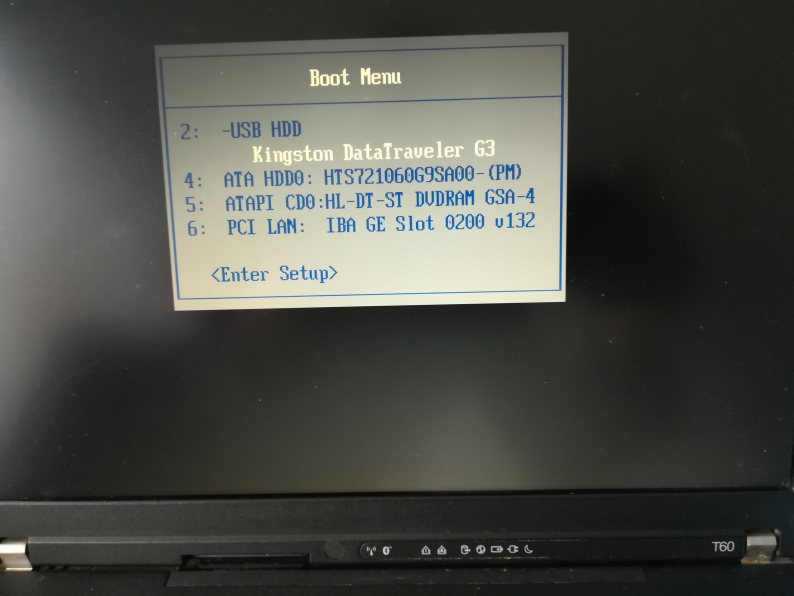
STEP 3: RUN LIVE OS
Once you have the USB ready, reboot/run the laptop, choose booting from USB. Now the laptop should read the USB and start loading the live image from USB.
STEP 4: INSTALL OS ON HDD
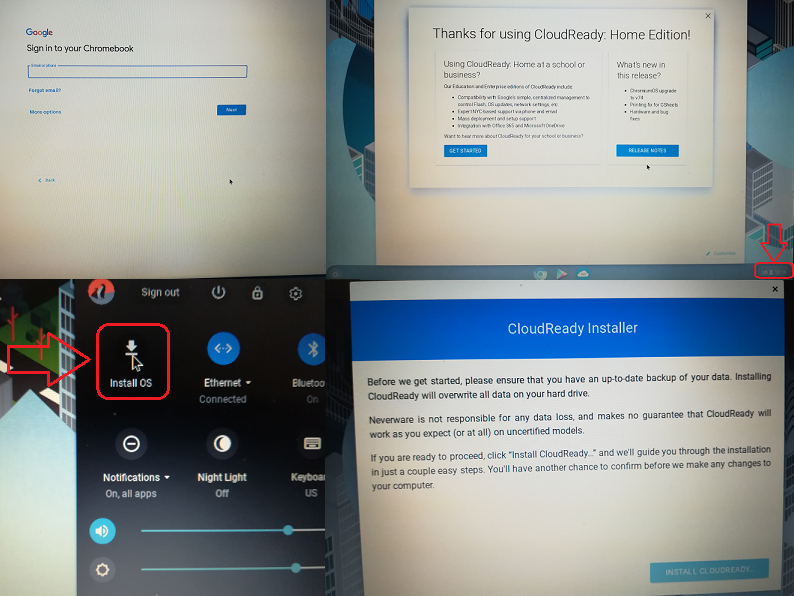
Once the OS is running you will need to connect to internet (wifi/lan) and setup your credentials on google. Then either click on install or do some manual steps.
CloudReady (option 1)
For Cloudready once booted into the system, left-click on the clock at the bottom right-hand corner of the screen. Then click “Install OS”.
CHROMIUM OS (option 2)
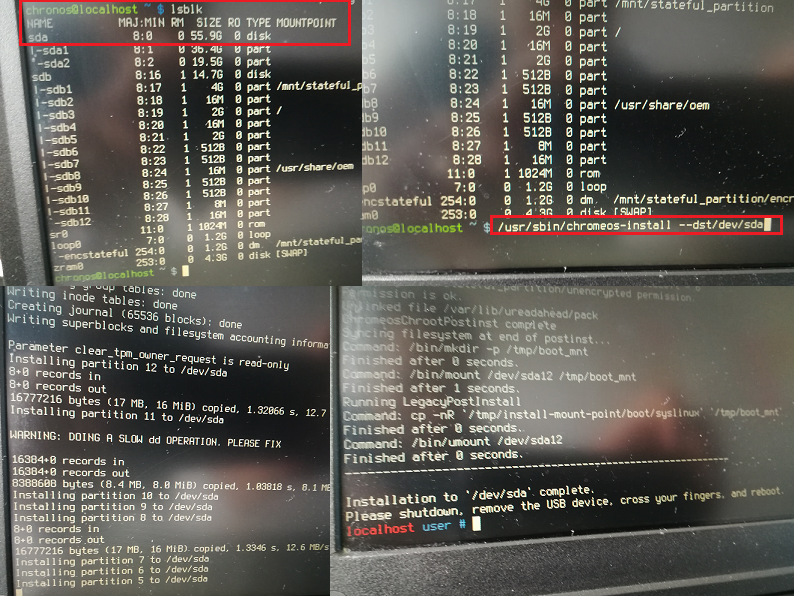
For Chromium OS by ArnoldTheBat, you need to follow manual process, which will install the OS to your HDD:
1. After your computer has booted to the Chromium OS login screen, press [ Ctrl ] [ Alt ] [ F2 ]
2. Login with the chronos user (password not required)
3. Execute command lsblk to verify destination HDD
4. Execute command /usr/sbin/chromeos-install --dst/dev/sda to start install on 1st HDD disk – sda
STEP 5: REMOVE USB AND RUN CHROME OS
All done 🙂 enjoy new Chrome OS system on your old pc/laptop.

Note: For the Thinkpad T60 the Cloudready OS was better option, as all the peripherals were immediately working. Also T60 is still in the list of supported/certified models. More on: Certified Model Finder.
RESOURCES/OTHER SITES
– CloudReady: Install Guide
– Chromium OS | ArnoldTheBats World of Whimsy
– Getting to a command prompt on Chromium OS