Hi there, in this DYI I will show you how to re-use old CD/DVD drive as external USB one.
FINAL PRODUCT
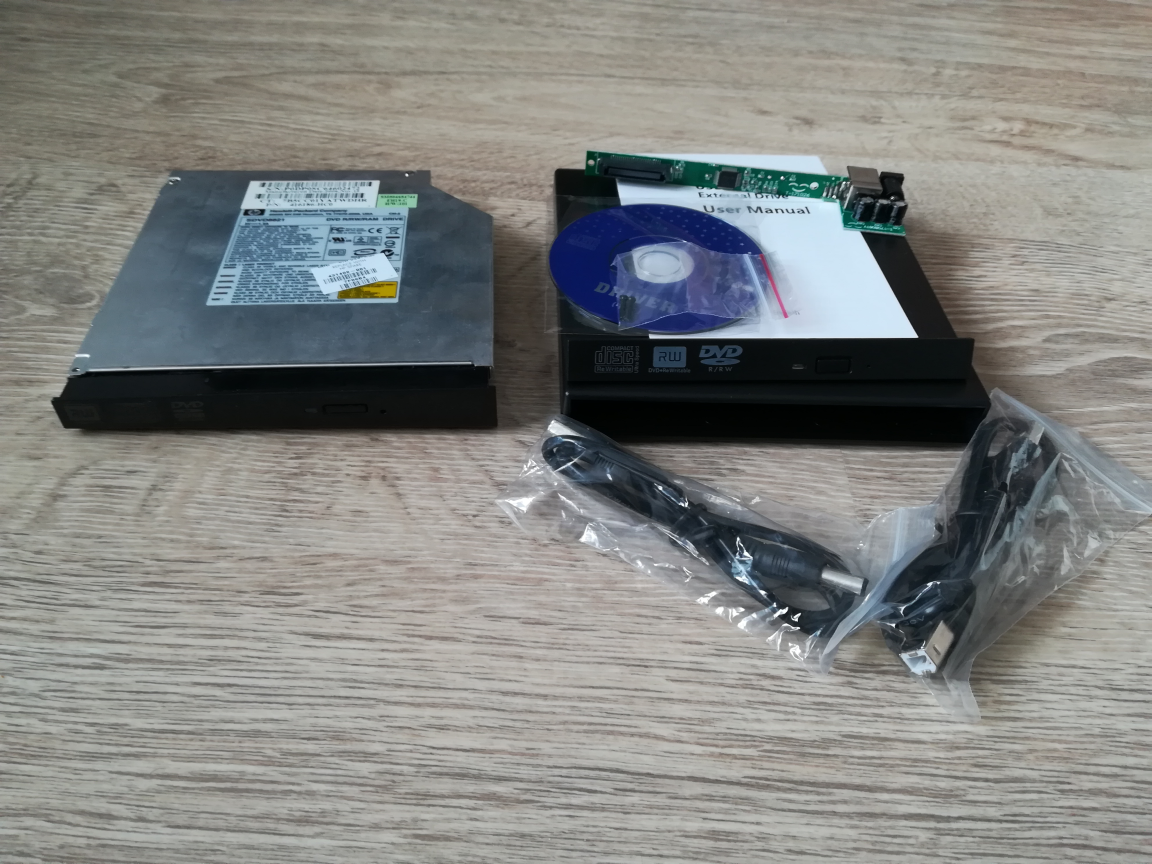
PARTS:
1. OLD IDE CD/DVD DRIVE [SDVD8821 DVD R/RW/RAM DRIVE]
2. USB IDE Drive External Case Enclosure – [€3,91] – buy
Total prize: €3,91
Note: Price may differ, above showing the price in the time of my order.
TOOLS:
– screwdriver
– needle/paperclip
HOW TO
STEP 1: DISASSEMBLY OLD DRIVE
Just extract the old drive from the laptop, mine was hold in place with one screw.
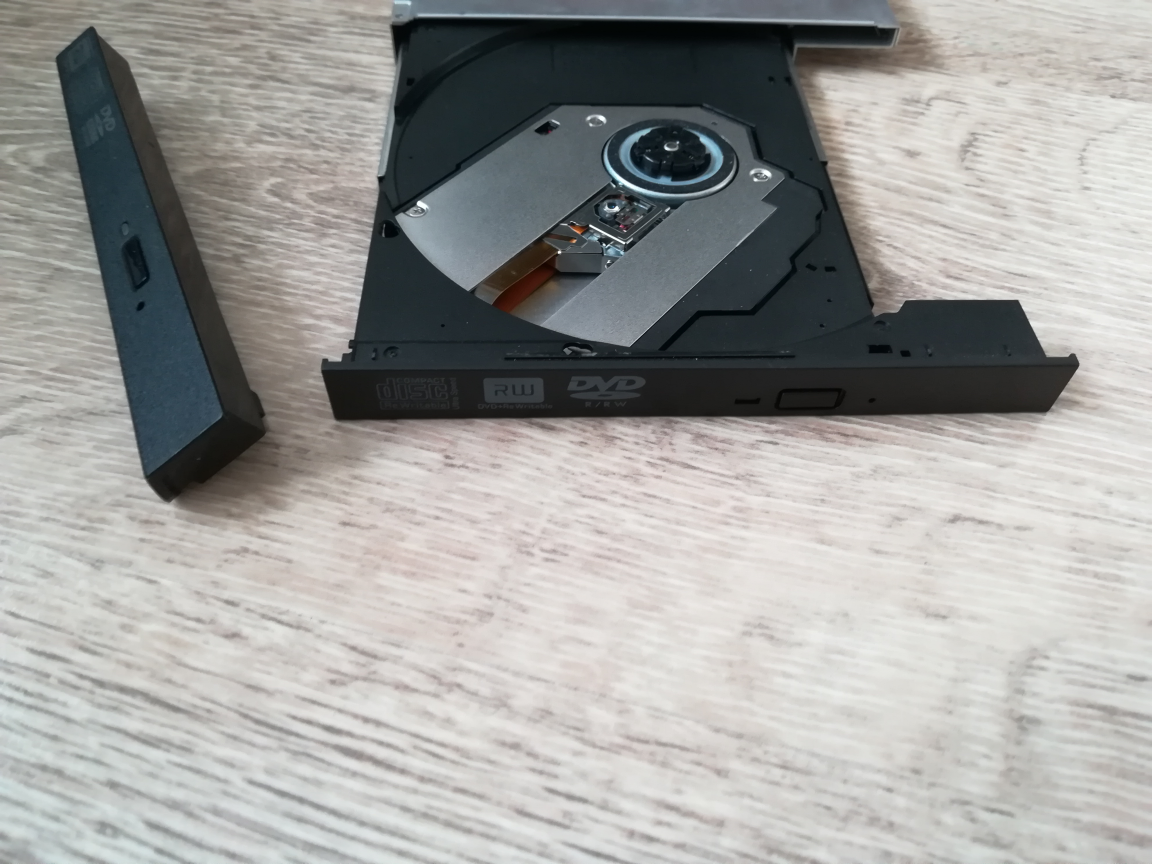
STEP 2: REPLACE FRONT PANEL
I’ve used paperclip (needle) to open the drive doors, then I gentle grabbed the old front panel and just by holding it and pulling slowly out it was released easily.
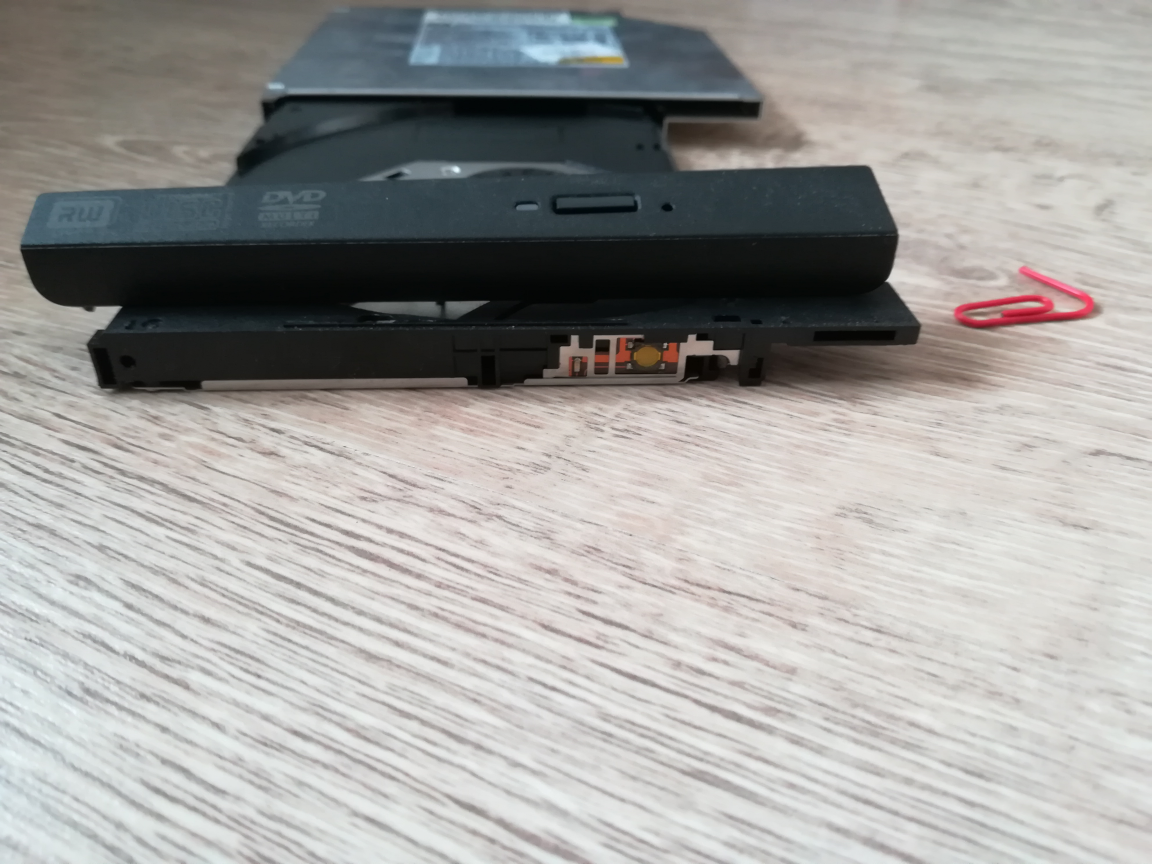
Then I install the new front panel, which came with the ordered box.
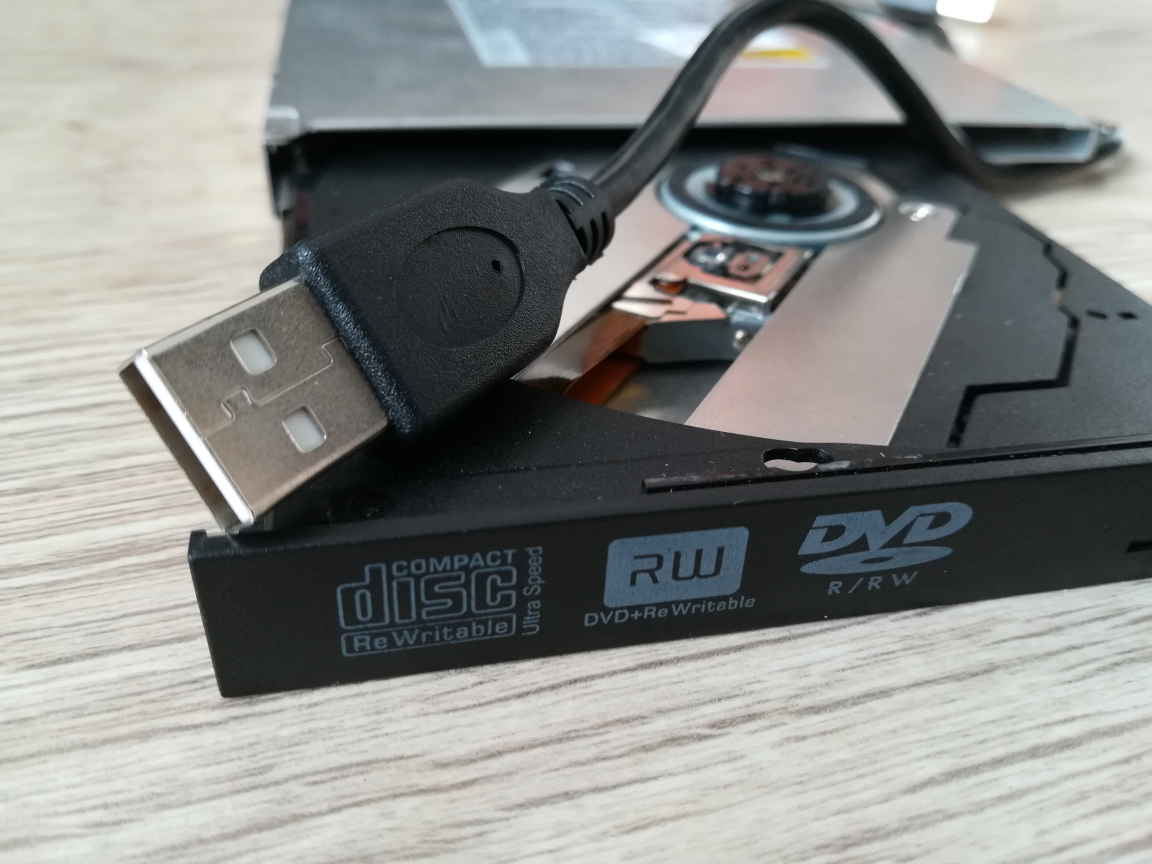
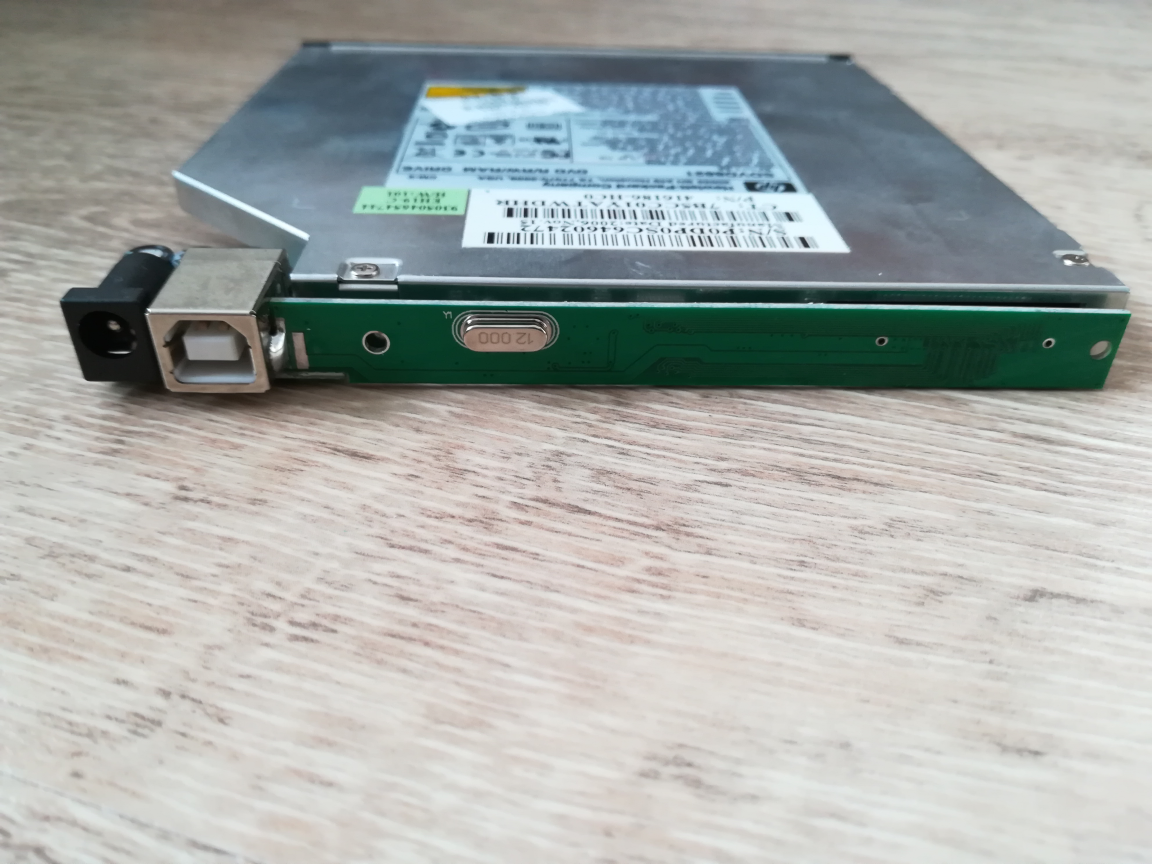
STEP 3: INSTALL THE DRIVER BOARD
Once the front panel is done, I’ve started with back, firstly a holder needs to be unscrewed.
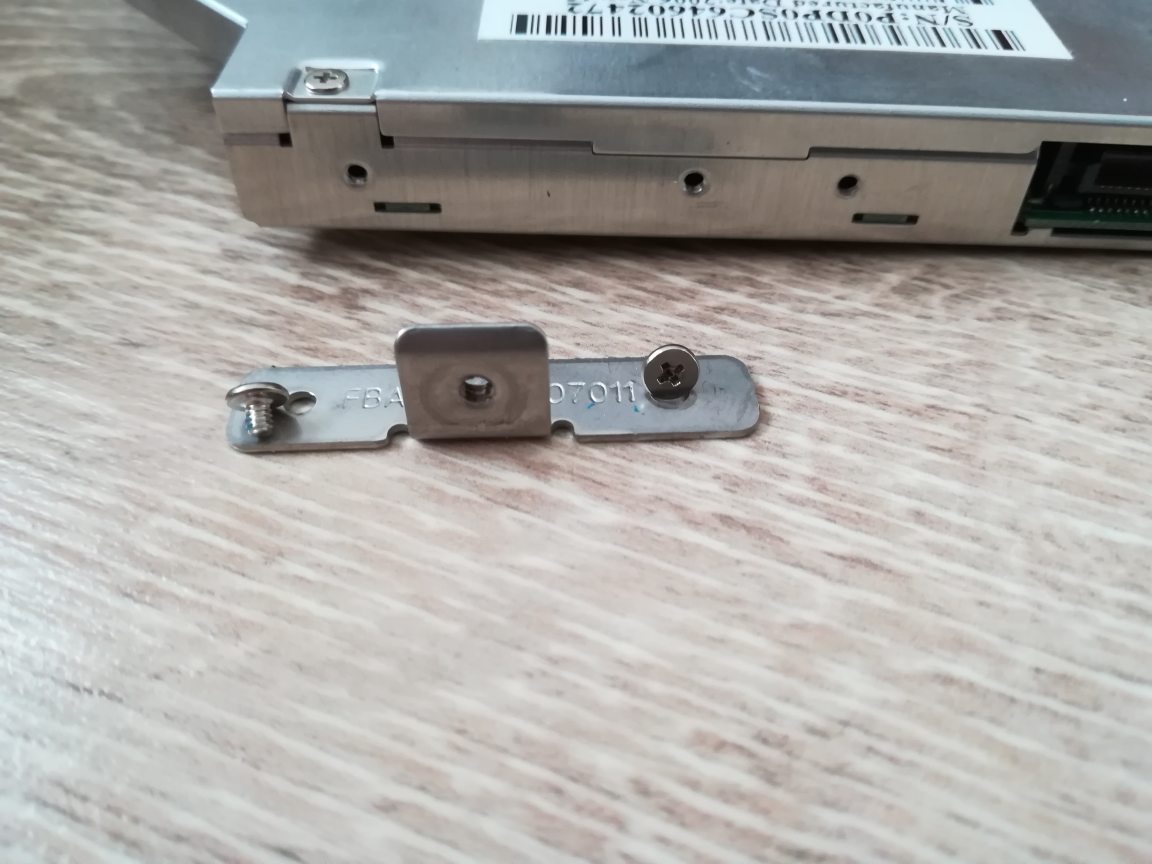
Then I’ve installed the driver (board) in place – so the IDE connector was connected.
STEP 5: CLOSE THE BOX
Once IDE was connected I placed the whole CD/DVD ROM inside the box – starting from top of the box (box is upside down on the picture)
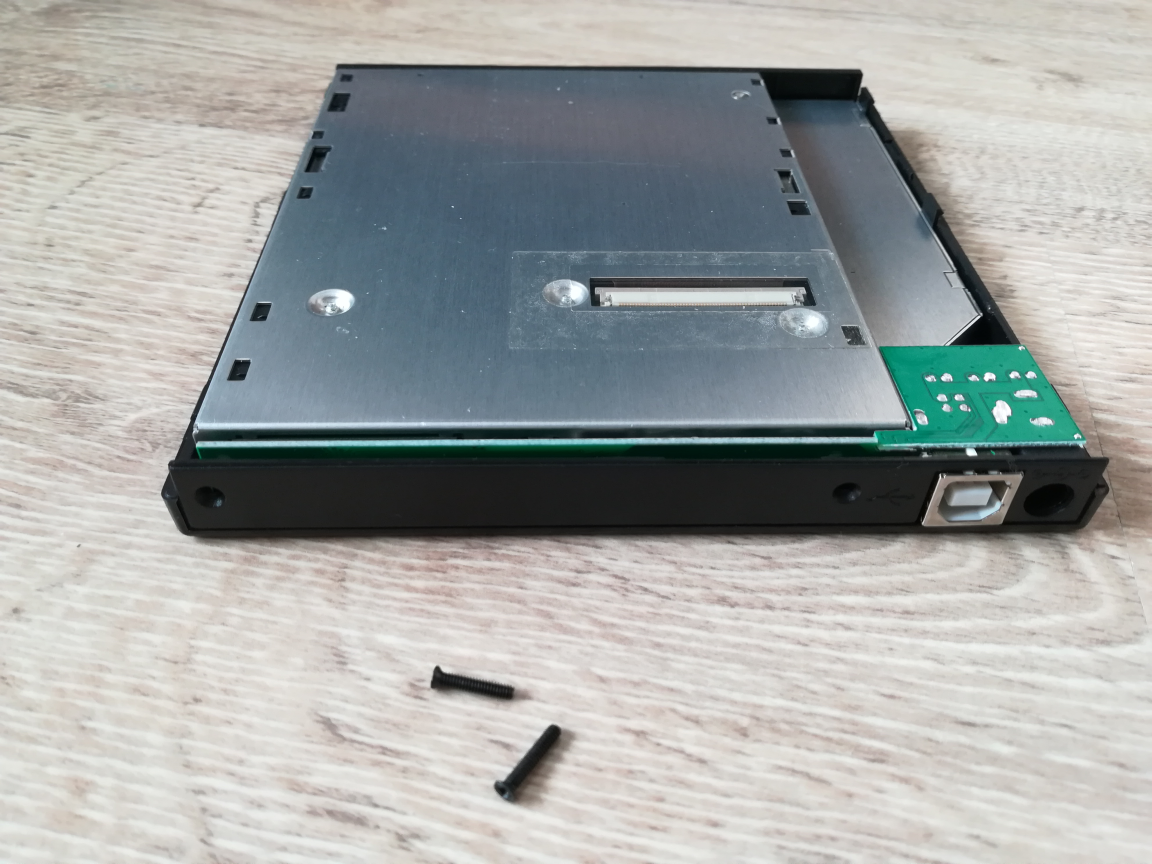
Added bottom plastic part of the box, screwed 2 screws, inserted 2 cables.. and we are done.
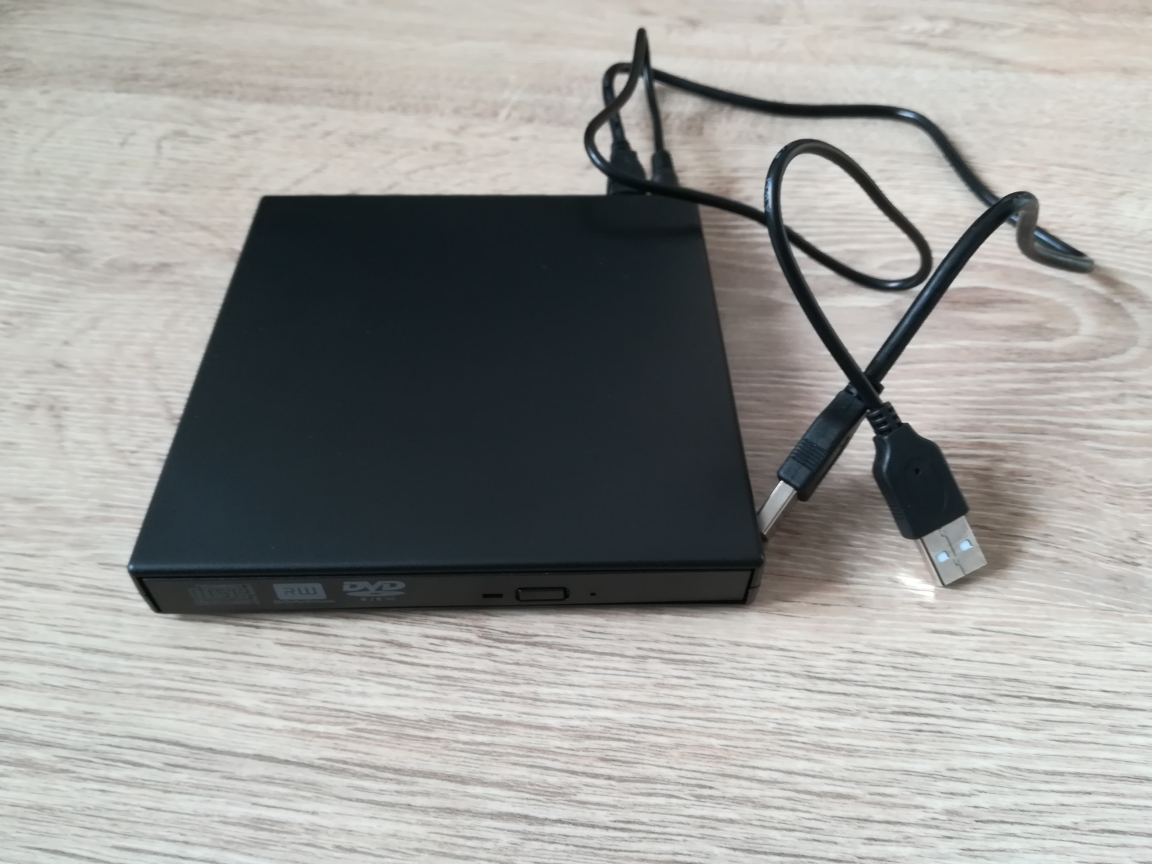
STEP 6: TEST IT
Tested on windows 7 (64bit) and it was searching for drivers.. but installed automatically in few seconds.

UPDATE: Tested also on Windows 10 64bit, and works like a charm.
Resources/other sites
No DVD Drive on Your Tablet or Notebook? Use an Old Laptop Drive Instead!
How to use your DVD-drive as external USB DVD-drive with a USB DVD enclosure case
Tech: How to make external DVD ROM