Are you scared of having a webcam in your laptop? Here is a small DIY manual how to create a Cam Cover – FOR FREE! (All the parts can be found at home.. for sure..)
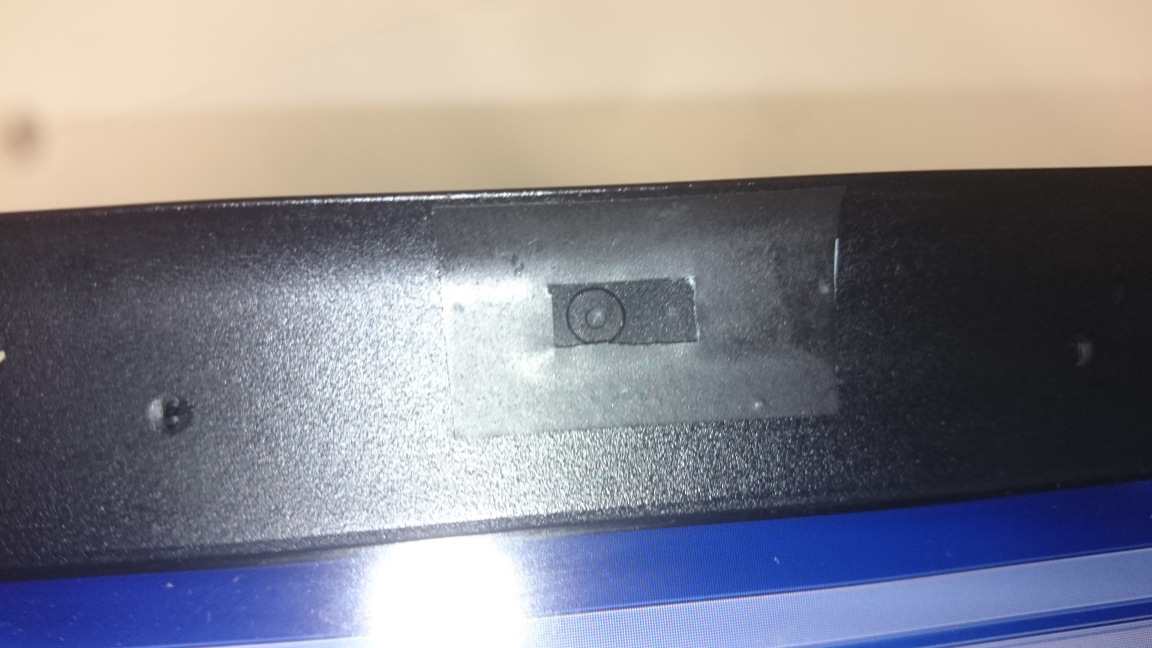
FINAL PRODUCT:
PARTS
1. Black tape
2. Paper ( I used blue one)
3. Slider – small plastic sticker (I used blue page marker)
Total prize: €0,00
Note: The price above showing the totals if you have everything lying at home 🙂
Tools
– ruler
– scissors
HOW TO
Step 1: Measure

Measure the webcam hole and leave some space around, approx 1 – 1.5 cm…
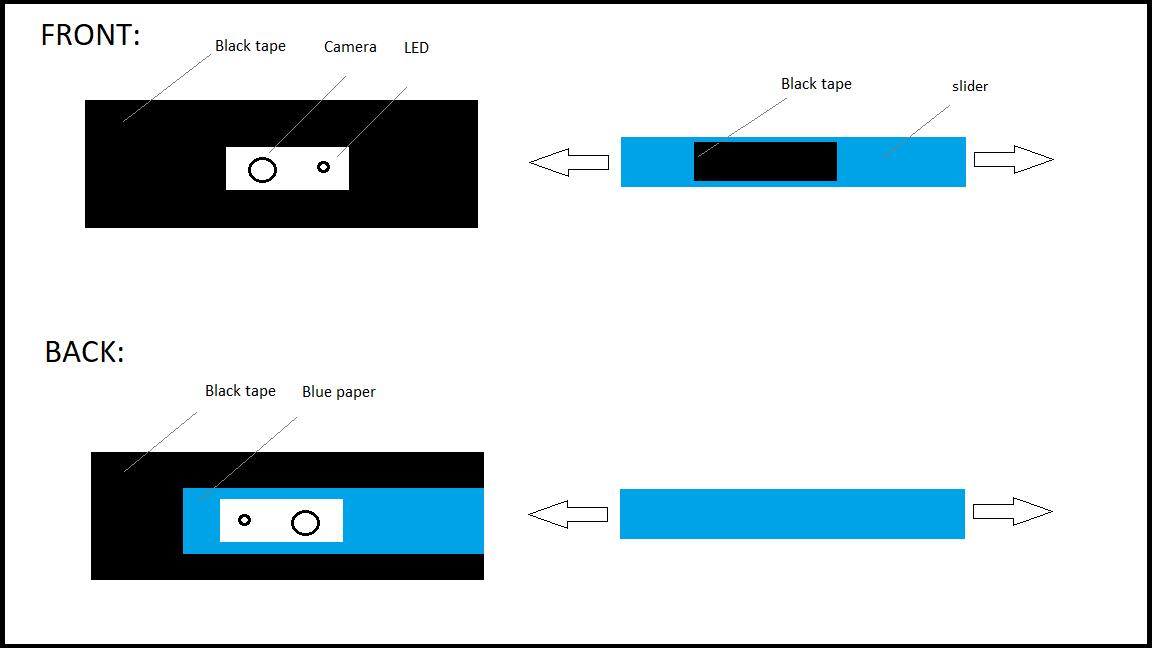
Step 2: Prototyping and HOW IT WORKS
From the below picture, you can easily see the front and back of the main part – the black tape, including the slider. The slider will be inserted between the laptop and the black tape. As we will move the slider to left or right (open/close), you’ll need to have a piece of paper as an isolation of the tape from the back.
Step 3: Cut and build
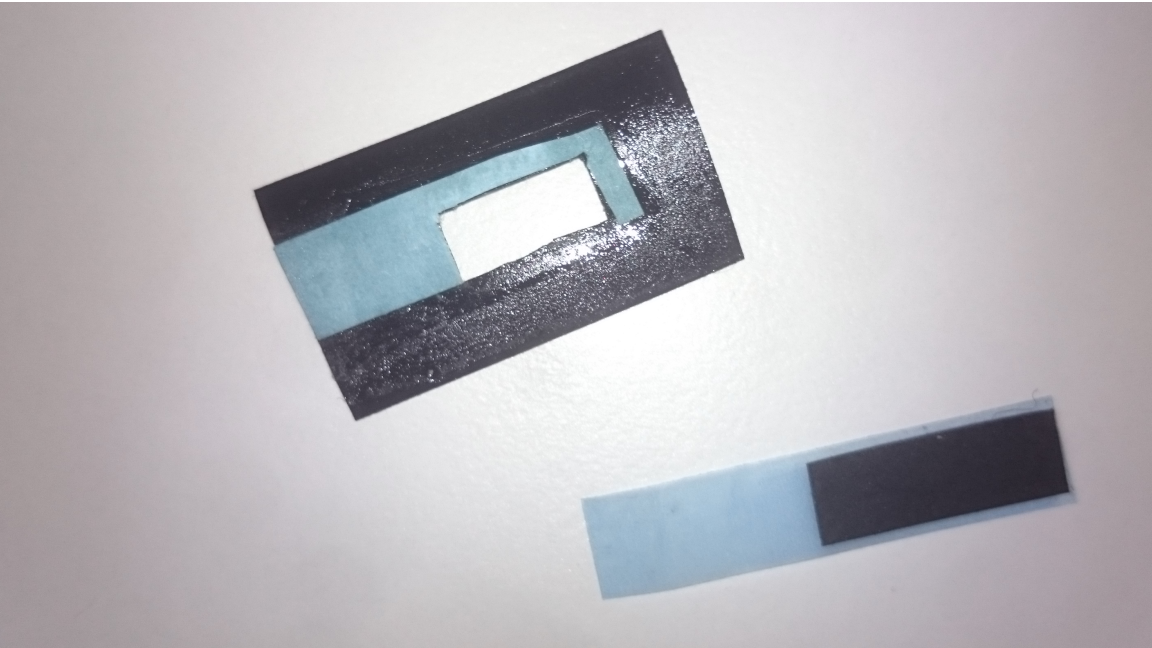
Now it’s the time to cut the tape for measures you need. Then stick the paper onto the back side. After that use a small black tape to cover the slider for like 60%. At the end the slider will be the main cover for the webcam.
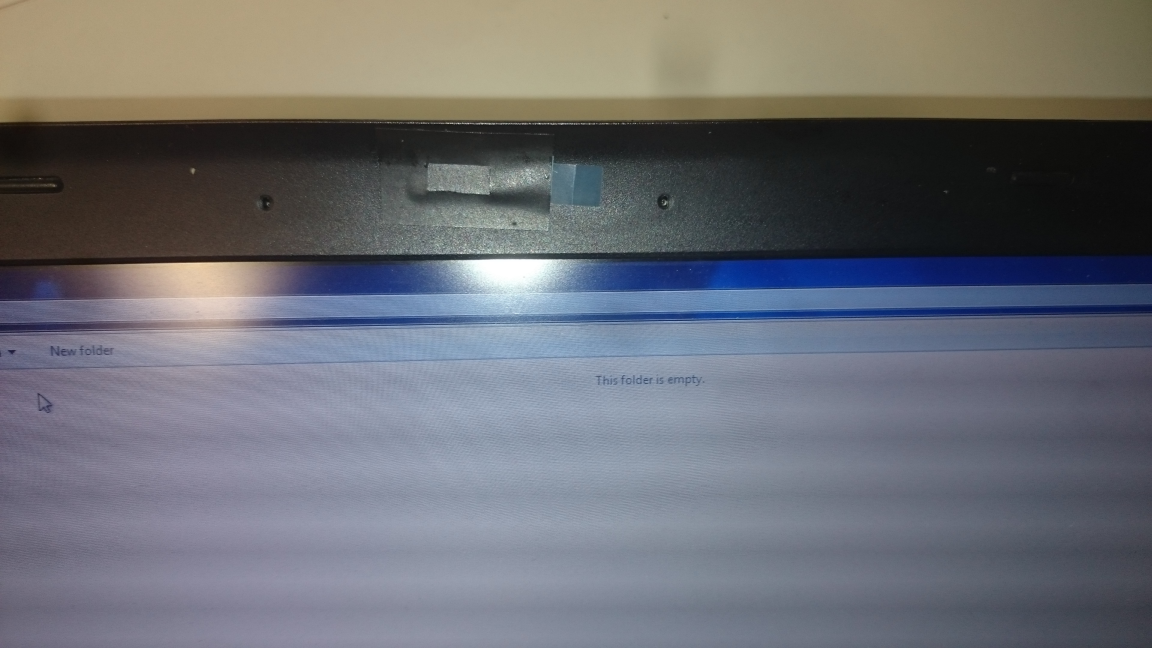
Step 4: Apply
Apply the black tape on the monitor, so the webcam and LED will be visible trough the hole.
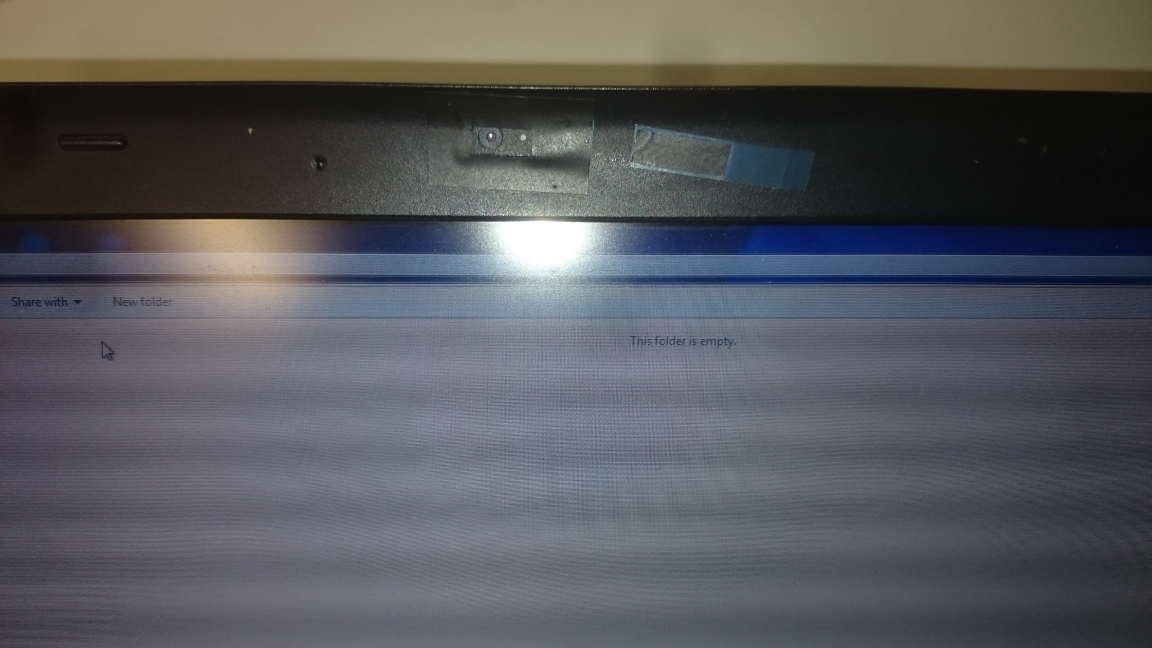
Apply the slider between the tape and the frame. Now you can easily move it left and right.
Step 5: Test
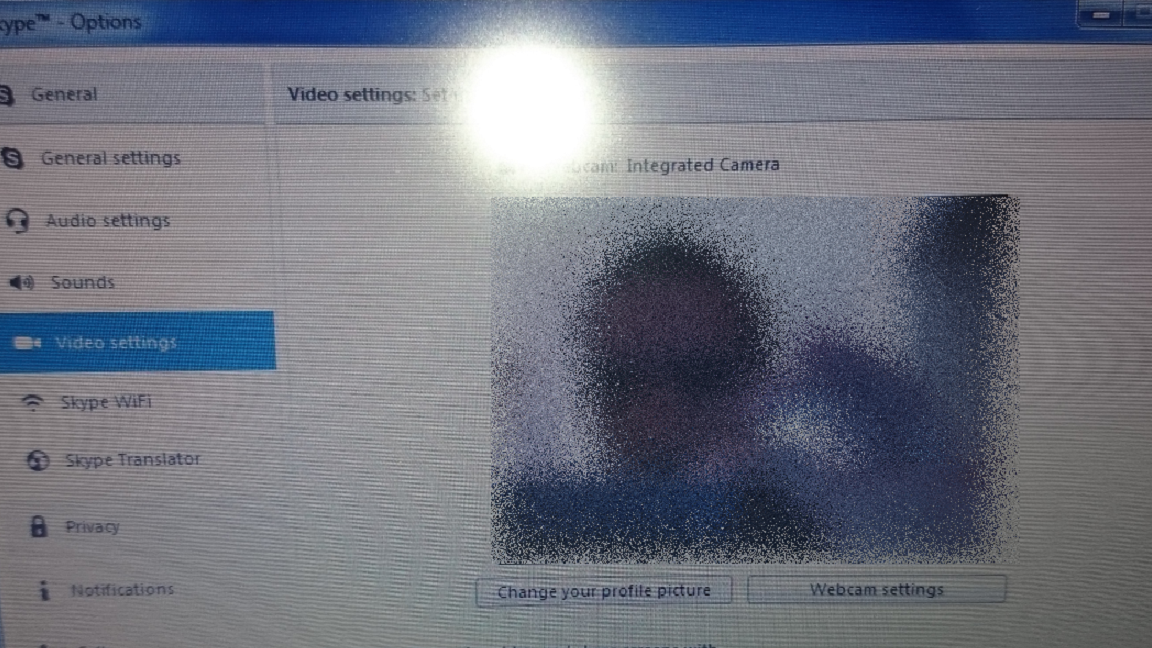
Don’t be scared.. the camera is working.. just you don’t wanna see my face 😀
I did not include any specific measures, as this is really not required. Each webcam has probably different measures, so you are on your own.
Enjoy!